Guide to Installing Basic Steel Safes for Home Security
Know Your Surfaces: Concrete, Wood, and Masonry
Concrete offers the strongest base for a basic steel safe. Mark through the safe’s anchor holes, drill perpendicular with a masonry bit, and use expansion or wedge anchors rated for your load. Vacuum dust thoroughly for better grip. Tell us about your slab thickness or old garage floor quirks, and our readers will share what worked.
Place the safe in its final spot, confirm door clearance and handle swing, then level it. Mark anchor holes through the base with a sharp pencil or punch. Remove the safe if necessary to drill straight. Share a photo of your layout tape marks—we’ll double-check your spacing before you commit.
Drilling and Setting Anchors with Confidence
Use steady pressure and correct bit size. Vacuum dust from holes so anchors seat fully. Insert anchors, reposition the safe, and align holes without forcing. Start bolts by hand to avoid cross-threading. Comment if your holes wandered slightly—we’ll suggest gentle corrections that keep strength and alignment intact.
Leveling, Torquing, and Final Checks
Tighten bolts incrementally in a crisscross pattern, checking level as you go. Doors should open smoothly without rubbing. Tug-test each anchor and verify the safe cannot rock. Store the anchoring tool in a separate location. Tell us how your door alignment feels, and subscribe for our maintenance checklist delivered seasonally.
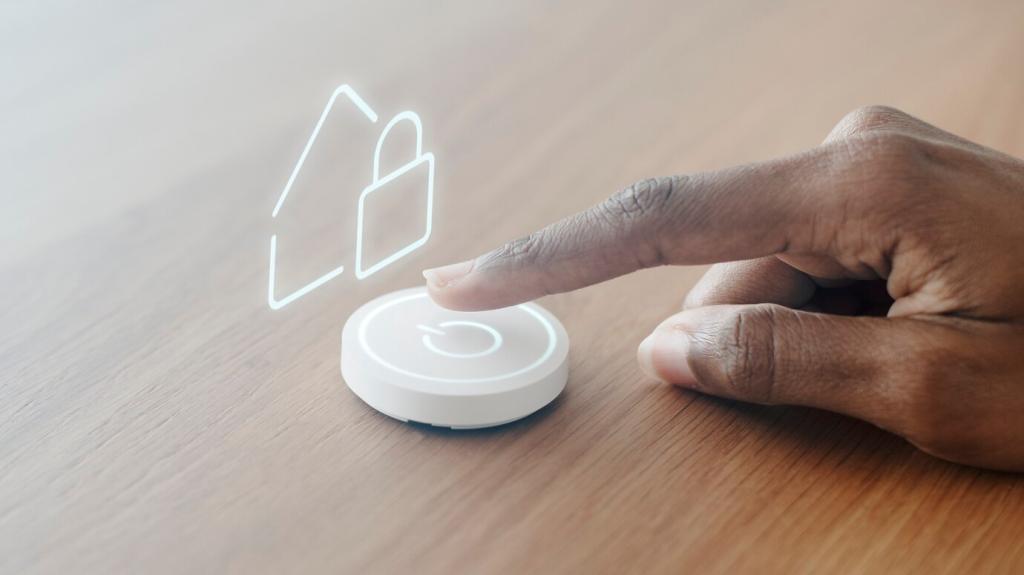
Smart Security After Installation
Keep your safe visually quiet: behind shelving, inside a cabinet, or draped by innocuous storage boxes. Avoid announcing its presence with fresh paint smells or empty packaging in the trash. Share your camouflage ideas—our readers love clever, ordinary-looking disguises that do not slow down legitimate access during busy mornings.
Smart Security After Installation
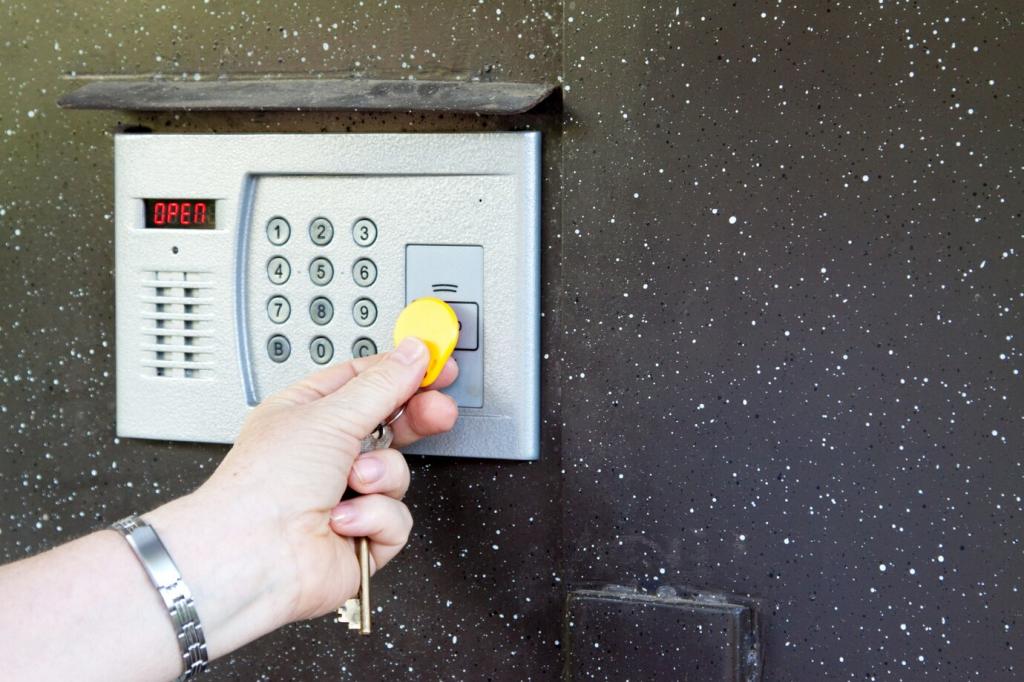
Rotate codes periodically, avoid birthdays, and teach trusted family members calm, stepwise access. Keep any emergency override keys in a separate, hidden container away from the safe itself. Post in the comments if you prefer mechanical dials or electronic keypads; we’ll discuss tradeoffs and reliability from real-world experiences.
Smart Security After Installation
Wipe seals, check bolts for snugness, and test the lock monthly. Watch for moisture and use desiccant packs if needed. Listen for unfamiliar grinding or sticking. Subscribing gets you a seasonal reminder checklist so you never forget those tiny tasks that keep a basic steel safe dependable year after year.
One reader installed near the bedroom door for easy access, only to realize guests noticed the new cabinet footprint immediately. They moved it to a quieter corner, added shelving in front, and reported reduced anxiety. Share your placement worries—we’ll brainstorm spots that balance quick access with subtle, everyday invisibility.
Real Stories: Lessons from First-Time Installers
A slight angle during drilling caused a stubborn bolt and constant door rub. The fix was simple: ream the hole carefully, add a leveling shim, and retorque evenly. The door now glides. If you’ve battled a tilted floor or uneven slab, drop details below and we’ll map out a gentle correction.
Set a recurring reminder to test bolts, refresh desiccants, rotate codes, and re-evaluate concealment. Take photos of anchor areas so changes are easy to spot. Share your audit notes with the community—collective wisdom helps everyone keep basic steel safes reliable through seasons, renovations, and changing family routines.